mercoledì 22 gennaio 2014

                                                                     FIRE!

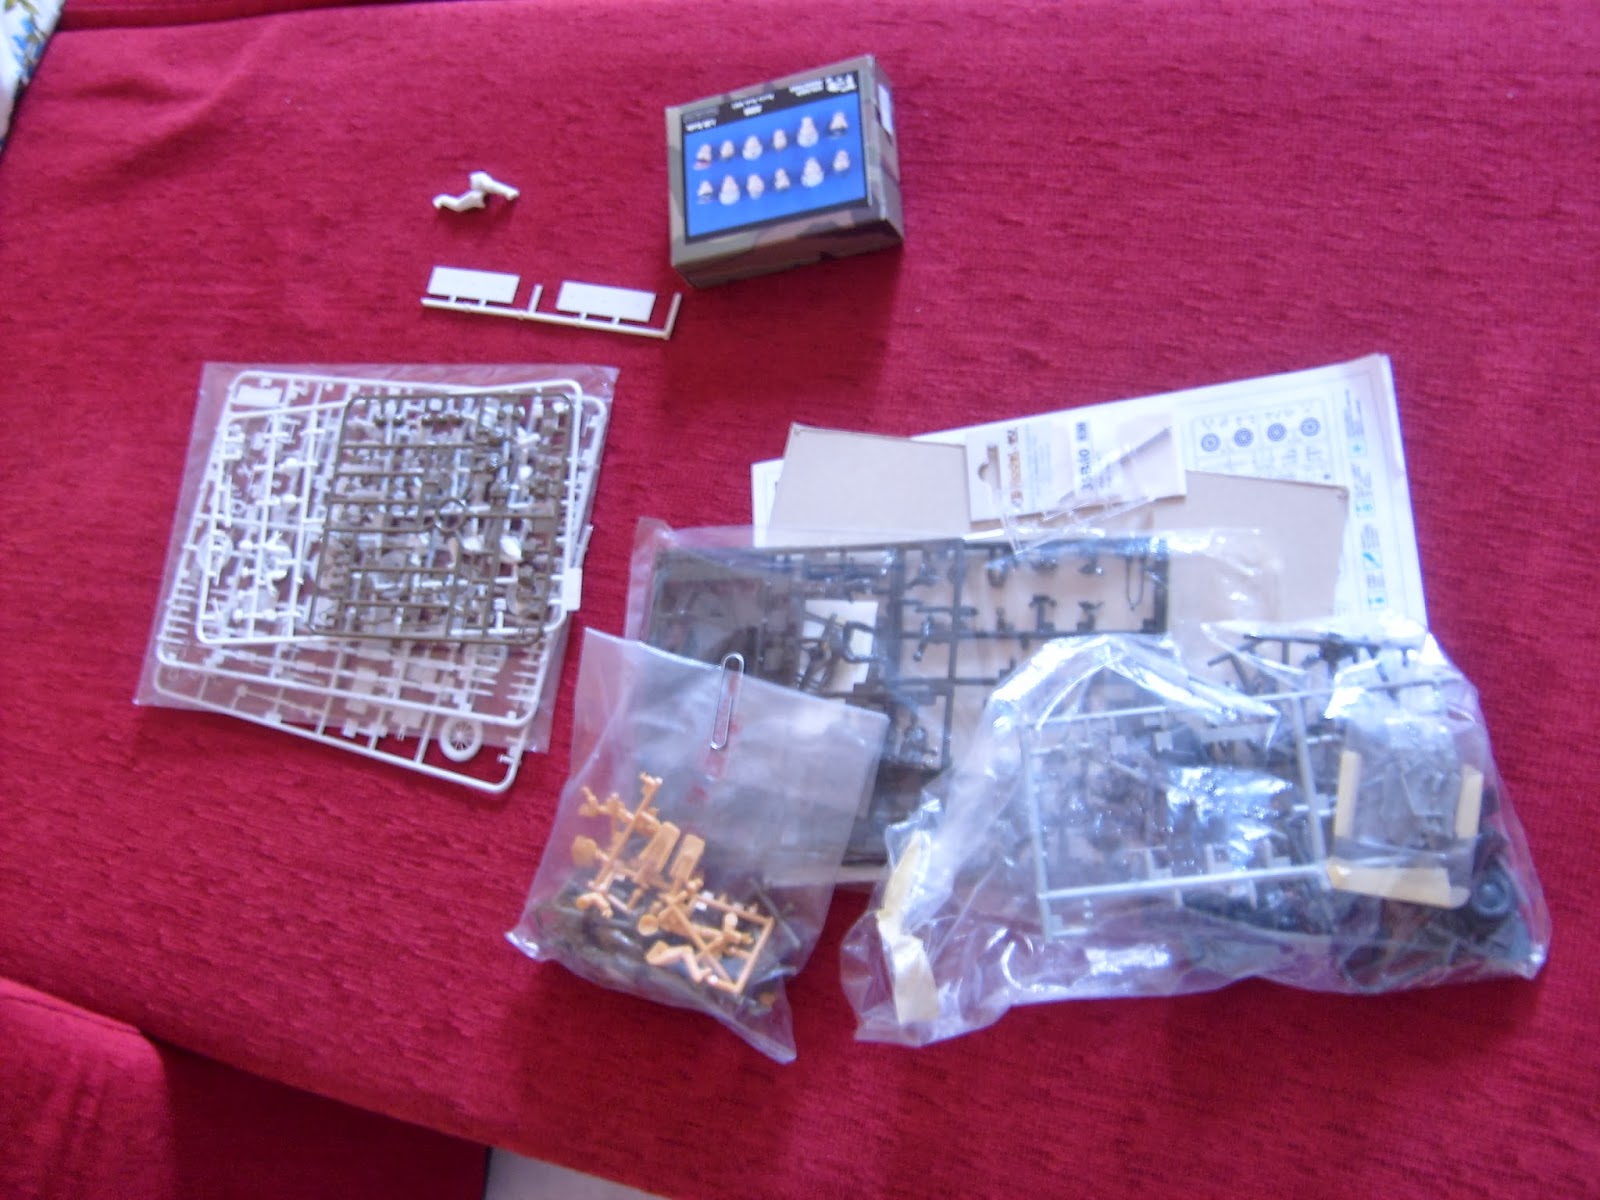
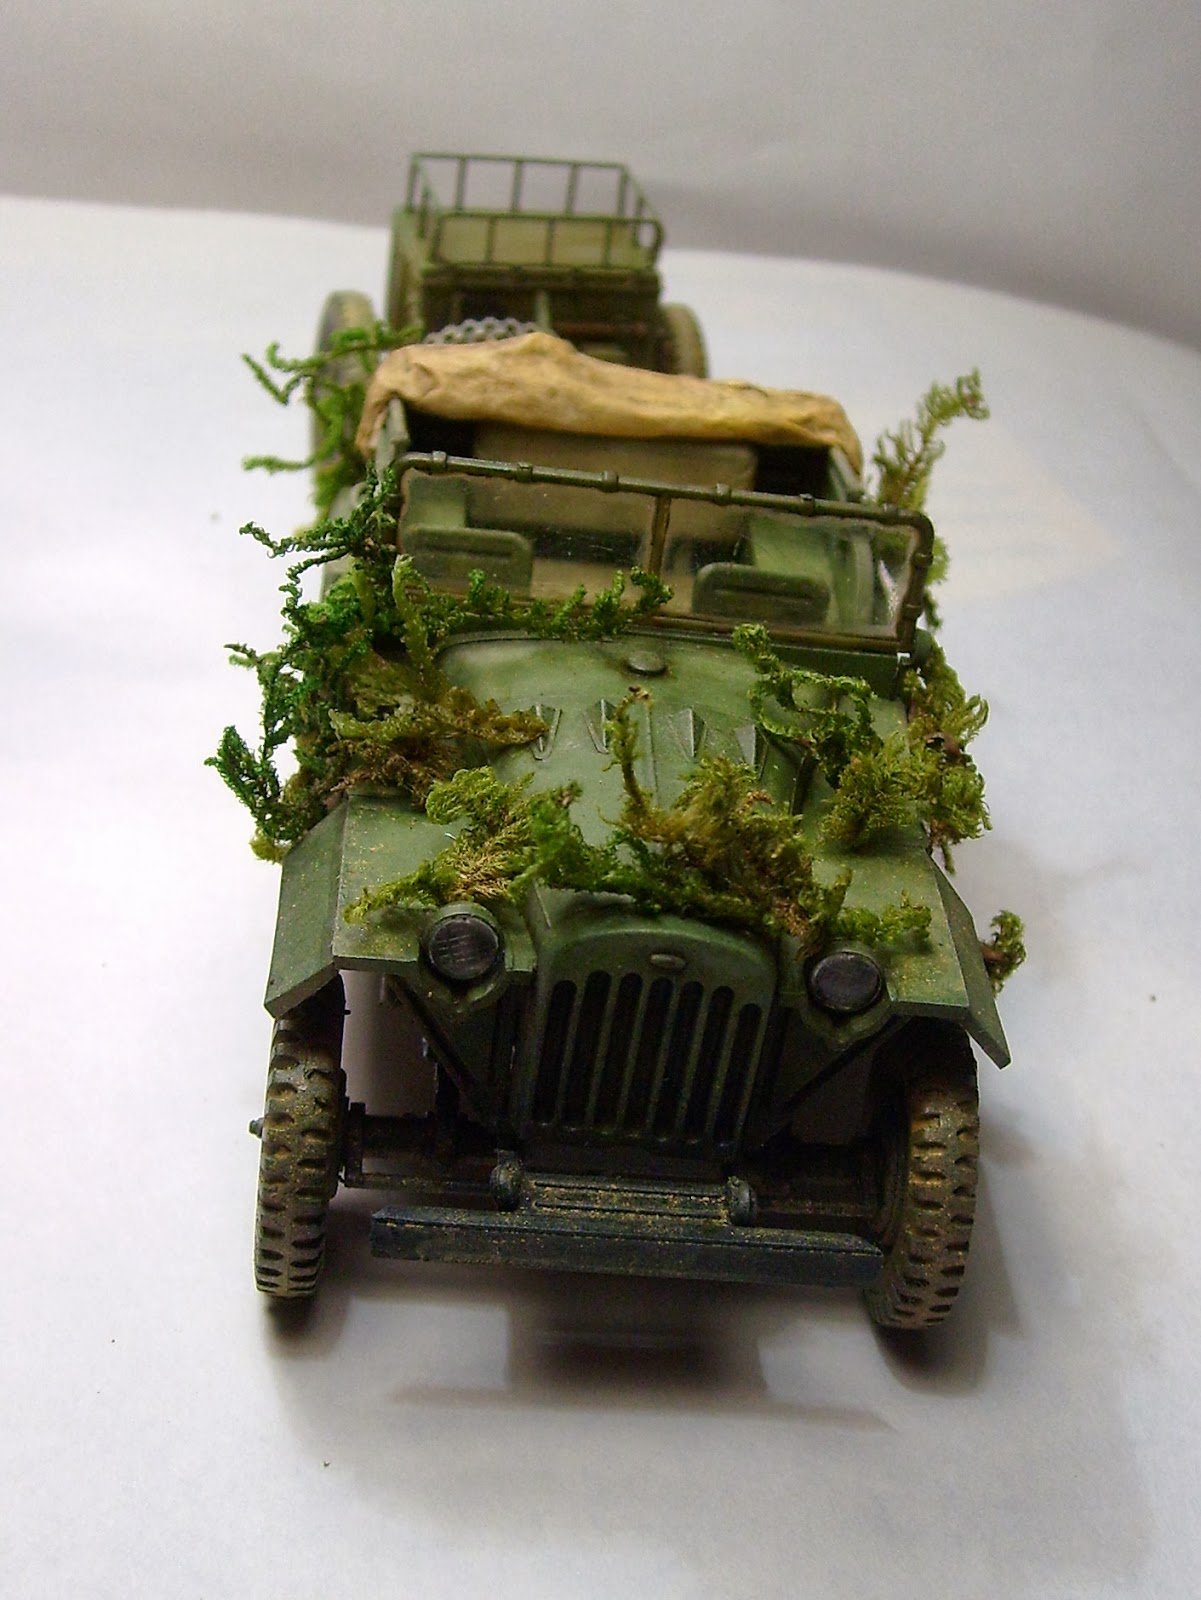
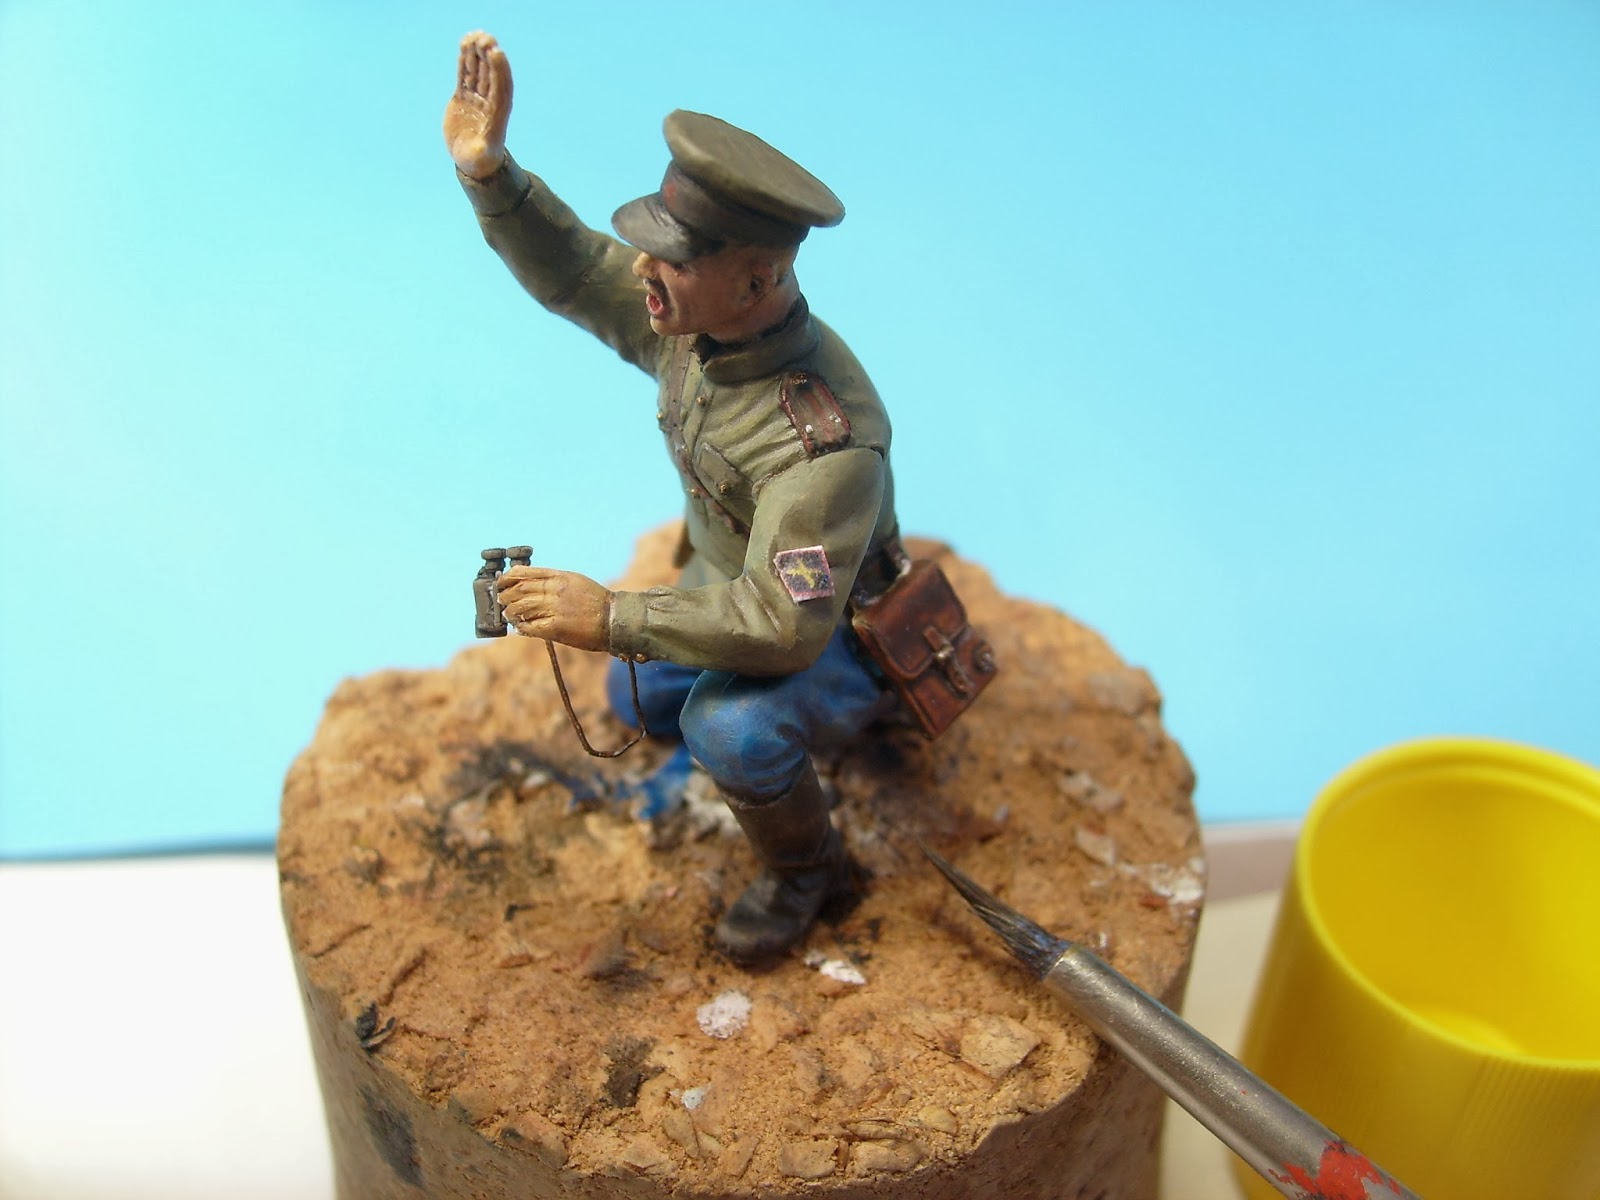
Diorama nato dalla voglia di utilizzare kit semplici  tanto per divertirmi un po senza troppo impegno nella fase di montaggio, vi si rappresenta una classica scena di pezzo controcarro in azione.
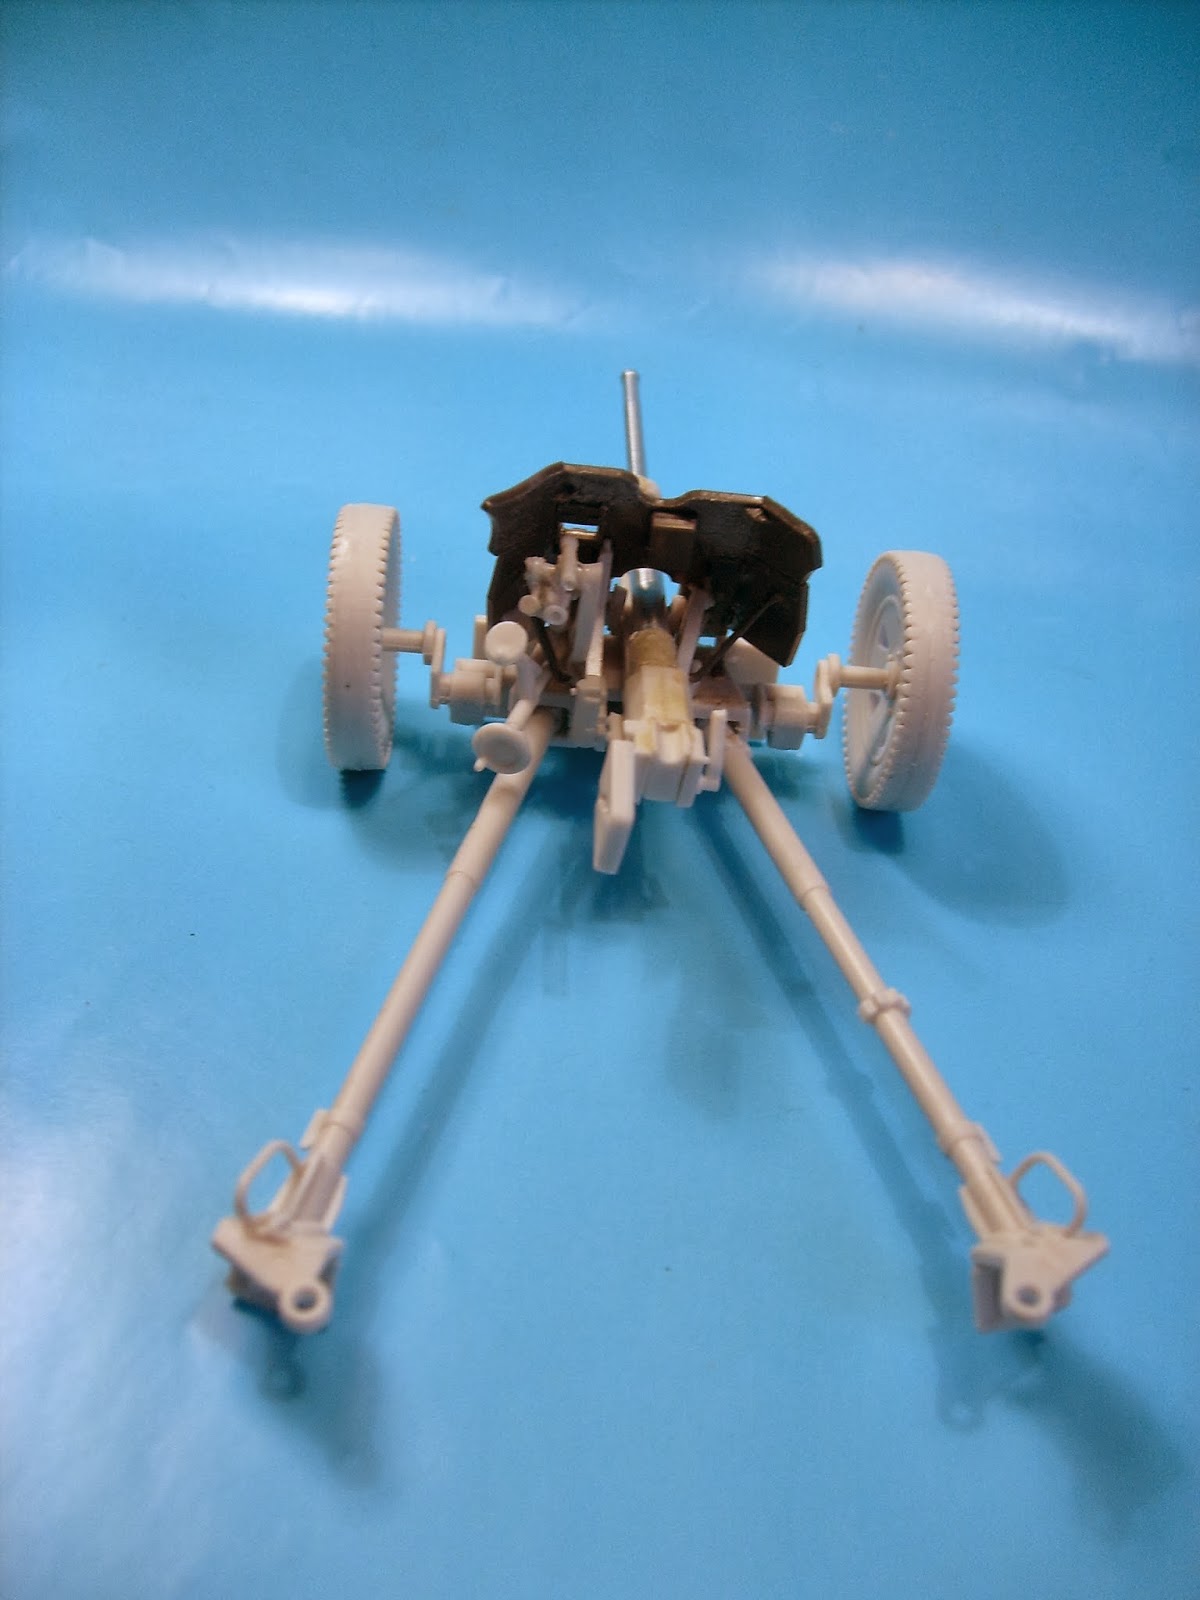
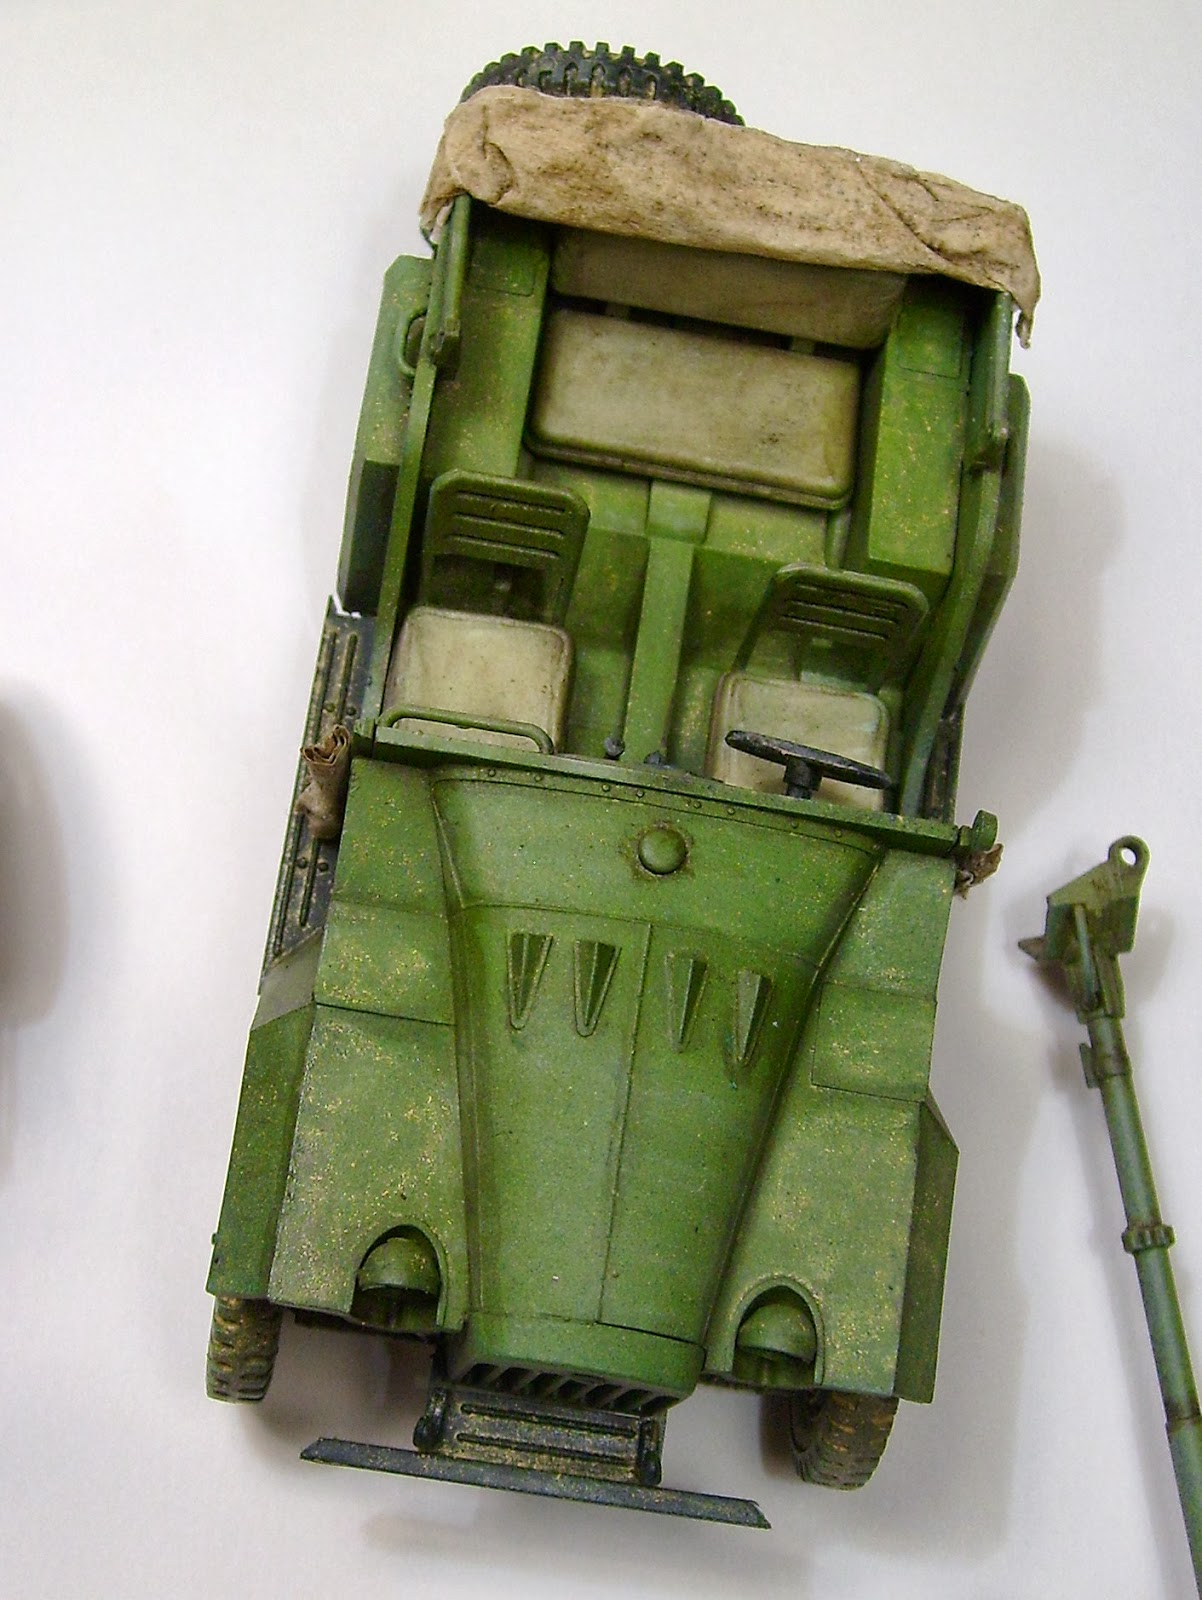
I kit sono la  vecchia  ma ben fatta GAZ 67 Tamiya , porta munizioni e cannone ICM, l'ultimo munito di canna RB e scudatura del kit Tamiya.
I figurini sono tre ICM con teste Verlinden , solo il porgitore ha le gambe di un vecchio SVEZDA.

Diorama born from the desire to use simple kit just to have some fun without too much effort in the assembly phase, there is a classic scene of antitank piece in action.
The kits are old but well-made GAZ 67 Tamiya, ammunition and cannon ICM, the cannon barrel is from RB and the shield from Tamiya kit.
The figures are three ICM with Verlinden heads, only the ammo soldier  has the legs of an old SVEZDA.


Ho dipinto con vallejo air e per ottenere il verde russo ho usato dato su un verde a dominante gialla una velatura azzurra.

I painted with vallejo air and to get the Russian  green, i used up green yellow cast a blue.


 L'invecchiamento è stato dato ad olio

watering was make with oil paint


L'effetto polvere l'ho ottenuto diluendo all'80% uno smalto ocra chiara RAINBOW-MAIMERI con la ricarica dello zippo, per il fango secco ho usato una mescola di spezie, caffe e oli .

For the dust effect  i  diluting at 80% an enamel light ocher RAINBOW- MAIMERI with the  zippo fuel,
for the dried mud I used a mixture of spices, coffee and oils paint


 I figurini sono stati dipinti con base acrilica e poi terminati ad olio
The miniature had been painting with acrilic base and ended with oil paints


 Per ricreare i distintivi delle forze anticarro sovietiche ho scannerizzato da un libro e l'ho ridotta in scala
To create the distinctive  of the Soviet anti tank forces I scanned a picture from a book and reduced that in scale.


Per il terreno ho usato una mescola di stucco e carta pesta cospargendo sopra terre da colorificio per la vegetazione erba da ferromodellismo, posidonia, spezie , cipresso e muschio.

For the ground I used a mixture of putty and paper mache sprinkle over earth pigments , for did the   vegetation i use static grass , sea grass, spices, cypress and musk.


lunedì 6 gennaio 2014

ERSATZ M10 1:35 - DRAGON TANK MODEL KIT 6561 BY FRANCESCO GIUSEPPE BRANESCHI

Il Panther, uno dei carri più conosciuti durante la seconda guerra mondiale, con tutte le sue varianti non finisce di stupirci. Antesignano con le sue forme dei carri moderni è stato un tenace ostacolo sui campi di battaglia contro le forze nemiche. Non tutti sanno che durante la seconda guerra mondiale oltre alle classiche versioni  ne è esistita una che aveva una funzione offensiva particolare. Durante la battaglia delle Ardenne il fronte sembrava essersi bloccato con alterne fortune e sfortune da ambo le parti. I tedeschi decisero quindi di schierare un battaglione speciale ovvero il 150. Panzerbrigade il cui comando fu affidato all'SS-Sturmbannführer Otto Skorzeny che aveva come scopo introdursi nelle retrolinee nemiche con mezzi e divise catturate all’avversario e creare più scompiglio possibile. Il piano venne realizzato in parte poiché il tempo disponibile era poco (circa una settimana) ed i mezzi requisiti era in gran parte danneggiati e da risistemare. Nonostante ciò si diede avvio a questa operazione chiamata Greif.
Ho deciso di costruire questo carro sia per la storia sia per il fatto che è poco noto e non comune a vedersi in scala. Il kit è uno dei recenti dragon montato praticamente da scatola visto l’elevato dettaglio dell’insieme e dei cingoli maglia-maglia. Il montaggio è stato fluido ed i pezzi s’incastravano facilmente.
Passiamo alla colorazione. Io in genere non uso passare primer almeno che non ci siano molti pezzi in resina o PE. Comunque il primo passo è consistito nel preshading fatto con del nero Tamiya ben diluito in modo da essere sottile e leggero.  Successivamente ho passato del verde scuro tamiya come base  che poi è stato schiarito con del bianco e del giallo che ha reso il colore meno freddo e che mi ha aiutato a sfumare il tutto gradualmente. Successivamente ho passato del trasparente lucido per favorire l’adattamento delle decal sulla superficie e per eliminare lo sgradevole effetto riflettente del film trasparente. Successivamente ho dipinto a pennello tutto cio che era in rialzo con un verde chiaro vallejo ben diluito. Infine ho passato varie mani leggere di trasparente opaco e ho effettuato dei lavaggi con colori ad olio. Ho eseguito prima un lavaggio generale mooolto diluito con del marrone molto scuro e poi uno selettivo per enfatizzare i dettagli e i recessi.
Passiamo ai cingoli. Il kit come da tradizione dragon offre i cingoli maglia maglia quindi non c’è bisogno di costosi aftermarket . il montaggio  effettuato in maniera rapida, per sfruttare il tempo di essiccazione breve della colla, è stato molto semplice e divertente. Io in genere lavoro in questo modo: faccio una striscia lunga quanto basta a ricreare l’intero cingolo disteso con tutte le maglie già incollate. Successivamente a colla ancora non asciutta adatto il cingolo al treno senza chiuderlo definitivamente. A colla asciutta estraggo il cingolo ( in genere lo faccio in due pezzi per agevolarmi la colorazione ed il successivo posizionamento) e lo dipingo ad aerografo con toni terrosi e marroni di vario tipo.
La sporcatura è stata effettuata con pigmenti MIG mescolati con acqua gesso e polvere di terra ricavata con un setaccio.
Tutti i dettagli sono stati dipinti a pennello con acrilici Vallejo. Le colature di olio sono state fatte con del nero poco diluito.


The Panther, one of the most popular tank during the Second World War , with all its variants never ceases to amaze us. Forerunner with its modern forms of modern tank was a tough obstacle on the battlefield against enemy forces . Not everyone knows that during the Second World War as well as classic versions of them existed a function that had a particularly offensive function . During the Battle of the Bulge front seemed to have stuck with mixed fortunes and misfortunes on both sides . The Germans then decided to deploy a special battalion of or 150 . Panzerbrigade which the command was given to SS- Sturmbannführer Otto Skorzeny which had as its purpose retrolinee penetrate into enemy vehicles and uniforms captured by the opponent and create more havoc as possible. The floor was made in part because the available time was short ( about one week) and the means requirements was largely damaged and rearrange . Nevertheless it gave start to this call Greif . I decided to build this tank for the story and the fact that is little known and not common to see each other in scale. The kit is one of the recent dragon box mounted virtually given the high detail of the whole and the magik track. The installation was smooth and the pieces fitted easily. Let's move on to the coloring. I typically don’t use primers. I use it if only there are many resin pieces or PE. However, the first step was preshading done with black Tamiya well diluted so as to be thin and light. Then I spent the tamiya dark green as a base which was then lightened with white and yellow color that made less cold and that helped me to gradually fade the whole thing. Then I went through the shiny transparent to facilitate the adaptation of the decal on the surface and to eliminate the unpleasant effect of reflective transparent film. Next, I brush painted everything that was on the upside with a light green vallejo well-diluted. Finally, I spent several light coats of transparent and opaque and I made washes with oil paint. I performed before a general washing soo diluted with the very dark brown and then a selective washes to emphasize the details and recesses. Let's move on to the tracks. The kit as dragon features the magic tracks so there is no need for expensive aftermarket. installation carried out quickly, to take advantage of the quick drying time of the glue, was very easy and fun. I generally work like this: I make a long strip just enough to recreate the entire track lying with all the meshes already glued. When glue does not dry yet i adapt the track to train without closing it permanently. when glue dry i pull out the track (usually I do it in two pieces to facilitate them the coloration and the subsequent positioning) and airbrush and paint it with brown and earthy tones of various types. The dirtying was performed with MIG pigments mixed with water and plaster dust of earth formed with a sieve. All the details were painted by brush with Vallejo acrylics. The leakage of oil have been made with the black little diluted